You ever have one of those mornings where your 3D printer just refuses to cooperate? You’re sitting there ready to watch that sweet, hypnotic first layer go down like butter, and instead—you get spaghetti. Or worse… nothing.
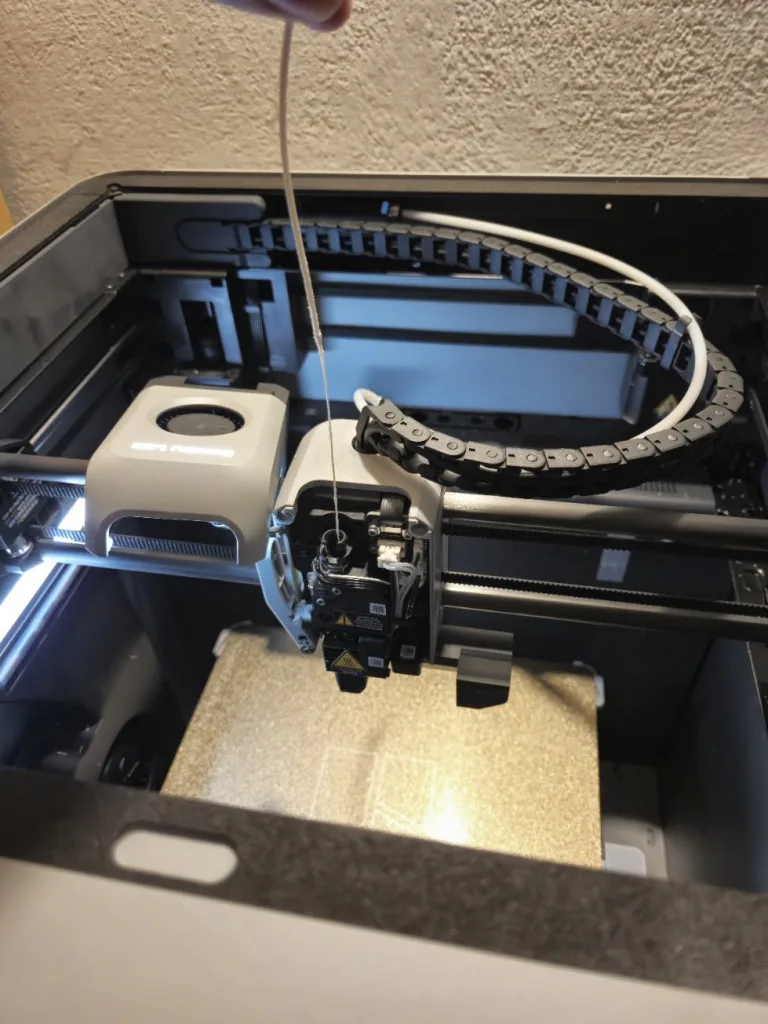
Cleaning the nozzle of a 3D printer is one of those little maintenance tasks that no one really wants to do, but everyone definitely has to do at some point. And while it might sound intimidating at first—especially when you’re just starting out—it’s actually not that bad once you know a few tricks.
So today, I thought I’d talk you through it—what causes nozzle clogs, when you need to clean it, and how to do it without making a total mess (or losing your temper).
Why You Might Need to Clean Your 3D Printer Nozzle
There isn’t just one reason your nozzle could be acting up. It’s more like a perfect storm of possibilities. Here are a few of the most common ones I’ve run into:
- Old filament: That bargain filament you found on clearance? Yeah, it might be full of moisture or tiny particles that can gunk up the works. Even good filament can degrade over time if it’s been sitting out in the open.
- Dust and debris: Filament attracts dust like socks attract dryer lint. And if you’re not using a filament cleaner or enclosure, that dust gets dragged right into the nozzle.
- Incorrect temperatures: Printing too hot or too cold can leave burnt residue or unmelted bits in the nozzle. Especially if you’re switching between materials—like going from PLA to PETG without a proper purge.
- Carbonization: Basically, burnt plastic. Over time, plastic residue can cook inside the nozzle and create stubborn, crusty clogs.
- Frequent material changes: Changing filaments often, especially between different types, without cleaning in between can lead to some pretty gnarly blockages.
So if your printer is skipping layers, under-extruding, or just straight up refusing to print—there’s a good chance your nozzle is in need of a little TLC.
“Ugh, Do I Have To?” — Yes, But It’s Not That Bad
I know, I know. The idea of taking tools to your beloved printer can be a bit nerve-wracking.
Let me walk you through three tried-and-true methods I’ve used to clean nozzles. Each one has its time and place, and you don’t need to be a pro to pull them off.
1. The Cold Pull
This is my go-to method for mild clogs and general maintenance. It’s kind of satisfying in a weird way—like peeling glue off your fingers.
What you need: Cleaning filament (any filament you can purge)
How to do it:
- Heat the nozzle up to the printing temp of the filament you’re using (around 200°C for PLA).
- Feed in the filament until it starts extruding a bit. That helps it grab any gunk inside.
- Let it cool down to around 90–120°C. You want it soft, but not melty.
- Then, with a firm hand and a bit of gusto—pull it out.
If you did it right, you’ll see a gnarly-looking plug of filament come out, sometimes with black residue or burnt bits clinging to it. It’s a little gross and very satisfying.
Pro tip: Do this every few prints, and your nozzle will stay happier longer.
2. The Lighter Trick (for When You’re Feeling a Bit Rogue)
This one’s for those deep, stubborn clogs where you’ve already taken the nozzle off the hot end and you just wanna go full “DIY garage mode.”
What you need: A lighter or small butane torch, pliers, and a thin needle or wire
How to do it:
- Remove the nozzle (take extra care!).
- Grab it with pliers and carefully heat it with the lighter until any stuck filament inside starts to burn out or melt. (take extra care!)
- Use a thin needle (like a nozzle cleaning tool or even a guitar string) to poke through and push out the residue.
Fair warning: this one smells a bit. Burnt filament is not what I’d call aromatherapy. So do it near a window or outside if you can.
Also, be gentle with the flame—don’t go full dragon. You just want to heat the plastic, not turn the nozzle into a glowing ember.
3. Soak & Scrub (The Patience Method)
Sometimes, you’re just dealing with a stubborn clog that doesn’t want to budge. If you’ve got time (or need an excuse to take a break), try this slower, more methodical approach.
What you need: Acetone (for ABS), isopropyl alcohol, or soapy hot water (for PLA); a small container; a wire brush or needle
How to do it:
- Remove the nozzle from your printer.
- Soak it in your chosen solution for a few hours—overnight works great.
- After soaking, use a wire brush or a needle to gently clear out any remaining gunk.
This method is great if you’re working with burnt-in junk or switching between materials. It takes longer, but it’s less aggressive than the lighter trick.
Bonus Tip: Prevention is Key
Let me say it louder for the folks in the back—don’t wait until you’ve got a full clog to think about your nozzle.
Here’s what I do now to avoid most issues:
- Store filament in dry boxes with silica gel packs (moisture = clogs).
- Wipe the filament with a little sponge cleaner before feeding it in.
- Do a cold pull every 5–10 prints, even if things seem fine.
It’s like flossing. No one loves doing it, but skipping it leads to bad times later.
Final Thoughts (and a Little Encouragement)
Cleaning your nozzle doesn’t have to be some scary, technical thing. Honestly, it’s just another part of the journey when you’re into 3D printing. And once you get the hang of it, it kind of feels like a mini victory every time.
So next time your printer starts acting up, don’t panic—just grab a tool, channel your inner printer whisperer, and get in there.
And hey, if you’ve got your own cleaning trick or horror story (we all have at least one), drop it in the comments. I’d love to hear how you tackle nozzle gunk. Maybe over a real coffee next time?
Until then—happy printing, and may your first layers always stick.
Pingback: How To Clean 3D Printer Bed And Why You Should Do It
hi
Hey! How are you?:)
Pingback: Clear 3D Printer Maintenance Guide With Easy Rules To Follow